
Quick Answer
How do you use a RL-H5A for rotary laser work?
The Topcon RL-H5A is the most widely used rotary laser in US construction — it's on residential foundations, commercial slabs, road grading projects, and site development work every day. Setup is stra...
How to Set Up the Topcon RL-H5A Rotary Laser
See also: Topcon RL-H5A E-01 Tilt Error — Fix Guide
See also: Topcon RL-H5A Out-of-Level Error — Fix Guide
Shop this product: Topcon RL-H5A Self-Leveling Rotary Laser Complete Package at Express Tools →
Applies to: RL-H5A
The Topcon RL-H5A is the most widely used rotary laser in US construction — it's on residential foundations, commercial slabs, road grading projects, and site development work every day. Setup is straightforward once you know the sequence, but skipping steps leads to the most common problems: E-01 errors, receiver not finding the beam, and grade readings that don't match your benchmark. This guide covers every step from pulling it out of the case to getting accurate shots.
What You Need Before You Start
Before setting up the RL-H5A, gather your equipment: the laser unit, a fully charged BT-65Q battery (confirm charge — a half-charged battery on a cold morning will trigger E-04 mid-job), a quality tripod rated for laser work (wooden or aluminum — avoid cheap plastic tripods that flex and drift), your LS-80L or compatible receiver with a fresh battery, and a grade rod if you're doing elevation control rather than just slope setting.
Check the RL-H5A housing for damage before every setup. A cracked housing or missing gasket from a previous drop compromises the IP66 weatherproofing. If the head window (the clear lens on the rotating assembly) has chips or scratches, the beam output will be uneven — clean it with an optical cloth before setup.
Step 1: Set Up the Tripod
Place the tripod legs firmly on stable ground — avoid soft soil, loose gravel, or surfaces that will settle under the tripod's weight. On soft ground, press each leg tip into the earth until it's anchored. Spread the legs wide enough for a stable base; a narrow-stance tripod on uneven ground is the leading cause of E-01 (tilt out of range) and E-08 (leveling timeout) errors.
Extend the legs to working height — most site work is done with the RL-H5A at approximately chest height, which keeps the beam accessible to receivers on grade rods without requiring excessive antenna height. Lock all three leg clamps firmly. A leg clamp that wasn't fully engaged is indistinguishable from a settling tripod until you've wasted 20 minutes troubleshooting a leveling error.
Level the tripod head with the built-in bubble. Get the bubble centered within the inner circle — not just anywhere in the outer ring. The RL-H5A self-levels across a 5-degree range, but starting within 2-3 degrees of level means the leveling system completes in 3-4 seconds rather than working at its limits.
Step 2: Mount and Power On the RL-H5A
Thread the RL-H5A onto the tripod head. Finger-tight plus a quarter turn is sufficient — overtightening the 5/8" tripod thread can stress the mounting plate. Confirm the unit is seated flat and not rocking on the tripod head.
Insert the BT-65Q battery pack with the latch facing outward. The battery slides in and clicks when seated. Power on with the red power button. The display activates and you'll hear the leveling motor engage — a brief, quiet hum as the pendulum system finds level. On a properly-leveled tripod, self-leveling completes in 3-8 seconds and the unit begins rotating the beam.
If E-01 appears: the tripod is tilted more than 5 degrees from level. Power off, adjust the tripod head with the built-in bubble, power on again. If E-08 appears: the tripod is unstable and the unit is correcting repeatedly without reaching stable level. Find firmer ground or stabilize the tripod before retrying.
Step 3: Set Rotation Speed and Mode
The RL-H5A offers rotation speeds from 150 to 600 RPM — faster rotation gives a more visible beam at longer distances but can make precise manual rod readings harder. For most site work, 300-400 RPM is the working standard: fast enough for efficient machine control, slow enough for manual grade rod work without waiting for the beam to sweep past.
For self-leveling horizontal work (the most common use — foundations, slabs, rough grading), no additional setup is needed after power-on. The RL-H5A levels and rotates in single-grade horizontal mode by default. For dual-slope work on the RL-SV2S (the RL-H5A does not have dual-slope capability — that requires the RL-SV2S), grade values are set via the slope buttons after leveling completes.
Step 4: Set Up the Receiver (LS-80L)
The Topcon LS-80L is the factory-recommended receiver for the RL-H5A. Mount it on your grade rod with the detection window facing the laser — the LS-80L detects from any direction (360-degree detection), but orienting the face toward the laser gives the strongest signal. Power the LS-80L on with the center button.
Walk to a point where the beam path is clear between the laser and receiver. The LS-80L display shows arrows indicating above or below grade, with the center LED illuminating when the beam strikes the detection window. On-grade indication requires the beam to hit the window — ensure no obstructions (equipment, piled material, brush) are between the laser and your rod location.
Set your cut/fill reference: hold the rod at your benchmark elevation and note the rod reading at on-grade. This is your reference height for all subsequent shots. Write it down — don't rely on memory across a long day or shift change.
Step 5: Verify Setup Accuracy
Before trusting the RL-H5A for layout work, verify its accuracy against a known benchmark. Set a grade rod on your benchmark point and note the on-grade reading. Then move to a second known point (a corner pin, manhole rim, or other verified elevation) and check that the RL-H5A reading matches the expected elevation difference within your tolerance. For most site layout work, ±1/8 inch over 100 feet is the working standard; the RL-H5A is rated at ±10 arc seconds, which is approximately ±1/16 inch per 100 feet — well within typical construction tolerances.
If the readings don't match your benchmark: first confirm the receiver is actually on-grade (center LED illuminated, not just close). Second, confirm the benchmark itself — benchmark errors cause more "laser problems" than actual laser problems. Third, if readings are consistently off by a fixed amount, the RL-H5A may need field calibration — contact an authorized Topcon service center.
Common Setup Mistakes and How to Avoid Them
Leaving the unit running all day between shots. Every power cycle runs the leveling motor briefly, but continuous rotation with nobody shooting is unnecessary wear on the rotation motor and drains the battery faster. Power off between setups and during breaks.
Setting up where the beam path is blocked. The RL-H5A beam rotates 360 degrees — plan the setup location so the beam has clear line of sight to your working area. A parked machine or pile of material between the laser and your rod location wastes time while you wait for the "clear" rotation.
Not checking the tripod after ground disturbance. Heavy equipment running nearby, a compactor, or vehicles passing near the tripod all cause micro-vibrations that can shift the tripod position. Check the on-grade reading against your benchmark after any nearby ground disturbance.
Using a depleted battery in cold weather. Battery capacity drops significantly below 0°C. A battery that reads 50% charge in cold conditions may only deliver 20% of its rated runtime. Always start cold-weather work with a fully charged battery and keep a spare charged battery in a warm vehicle.
Maintaining the RL-H5A in the Field
Wipe the head window clean with a dry optical cloth at the start of each day. A dirty window reduces beam intensity and effective range — on long shots (300+ meters), a dirty window can cause the receiver to miss the beam entirely. Never use solvents or abrasive cloths on the window.
Store the unit in its case when not in use. The case provides the impact protection; the RL-H5A's rated 1-meter drop resistance assumes it falls from operating height, not from the back of a truck bed. A case that's dropped from a pickup truck tailgate doesn't guarantee the laser inside is unaffected.
Annual calibration at an authorized Topcon service center costs $150-250 and catches drift before it affects your work. If the RL-H5A is your primary layout tool, annual calibration is worth it — calibration errors compound across a project in ways that are expensive to remediate.
Frequently Asked Questions
How do I fix E-01 on my Topcon RL-H5A?
E-01 means the unit is tilted beyond its 5-degree self-leveling range. Power off, level the tripod head with the built-in bubble until the bubble is centered, then power on again. The unit should self-level and begin rotating.
How far can the Topcon RL-H5A shoot?
The RL-H5A has a 800-meter working diameter (400m radius) with a compatible receiver like the LS-80L. Without a receiver, the visible beam range in typical outdoor conditions is approximately 50-70 meters.
Can the Topcon RL-H5A do dual-grade work?
No — the RL-H5A is a single-grade (horizontal plane) laser. For dual-grade work in both X and Y axes simultaneously, you need the Topcon RL-SV2S or a comparable dual-grade model.
How long does the Topcon RL-H5A battery last?
The BT-65Q battery provides approximately 80 hours of runtime at 20°C in standard rotation mode. Cold temperatures reduce runtime significantly — expect 40-50 hours at 0°C.
How accurate is the Topcon RL-H5A?
The RL-H5A is accurate to ±10 arc seconds, which equals approximately ±1/16 inch per 100 feet or ±5mm per 100 meters. This is sufficient for site layout, foundations, slabs, and most commercial construction work.
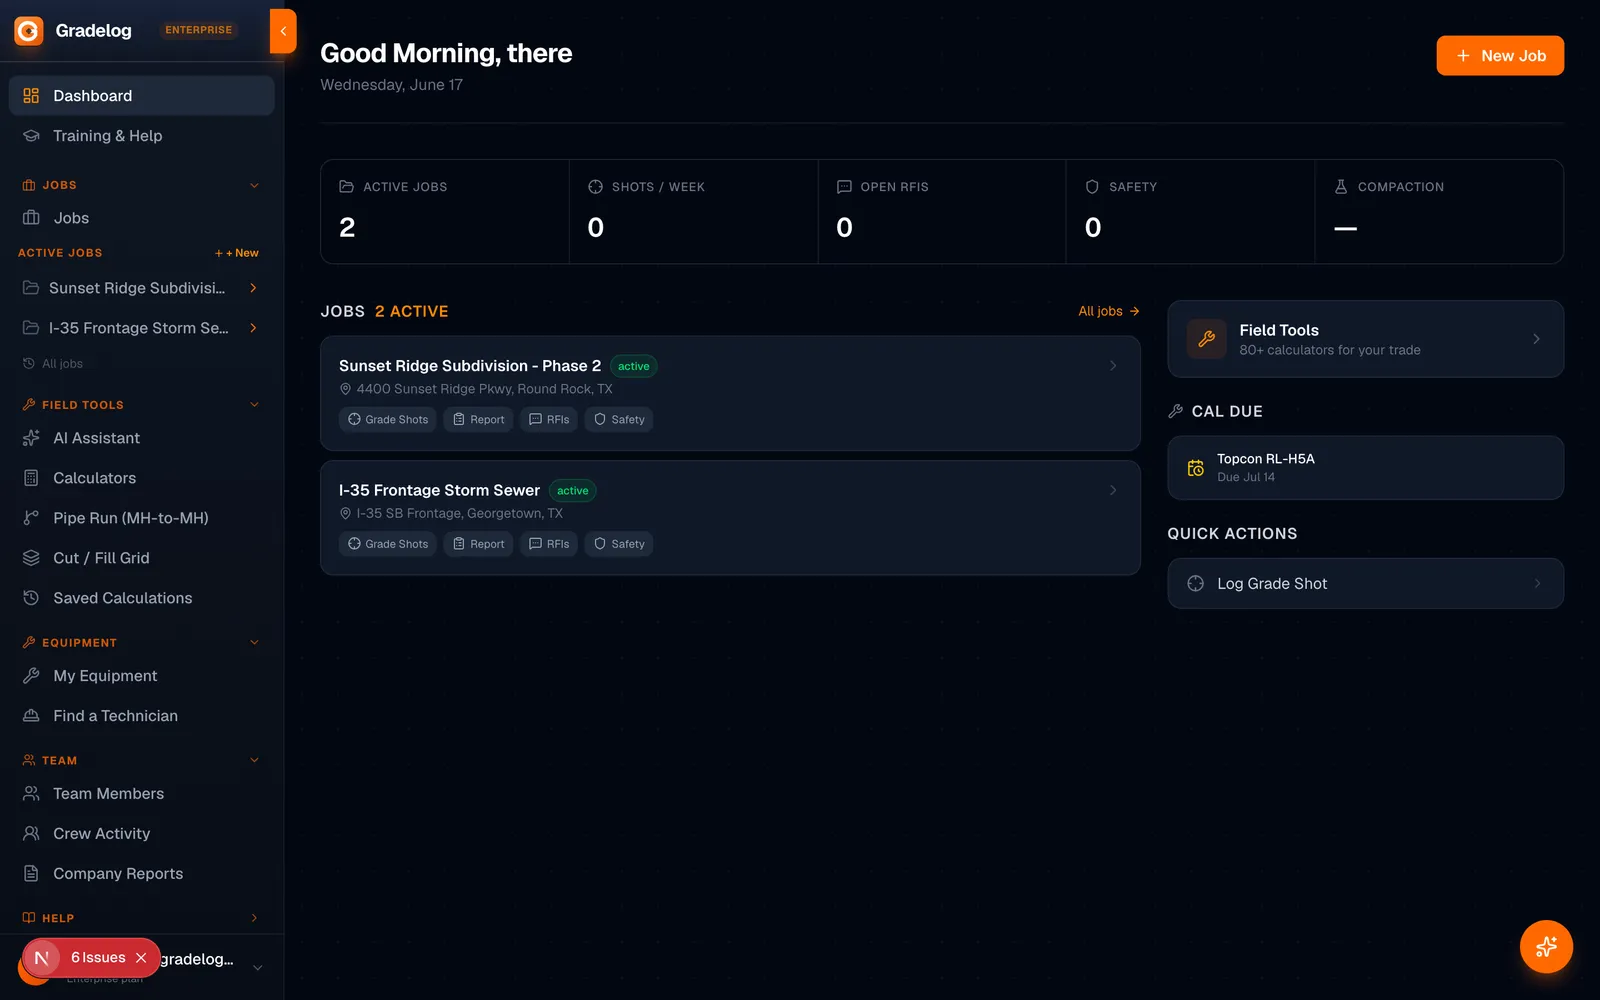
Logging grade shots and calibration records for your RL-H5A? Gradelog tracks calibration dates, shot history, and equipment service records — so you always know when the laser last went in and whether your benchmarks are reliable. Free to start.